UPR Scalenics を使用する
準備
開発者アカウントの取得
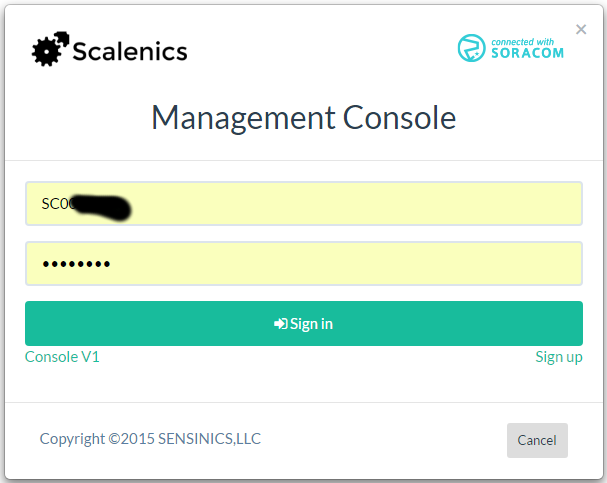
オンラインサインアップ のページで登録し、開発者アカウントを取得します。
設定
Scalenics の設定
チャネルの作成
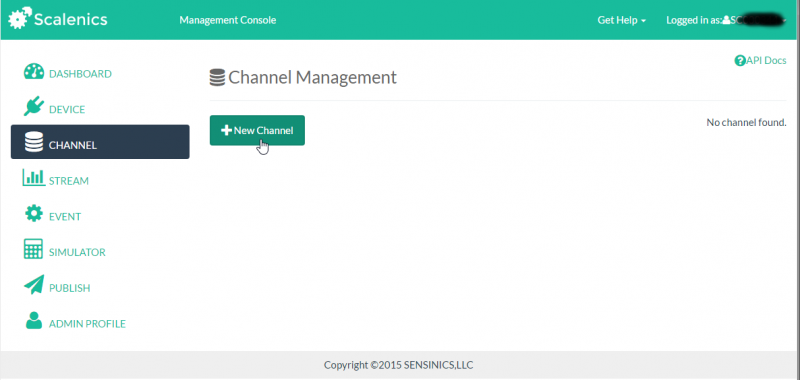
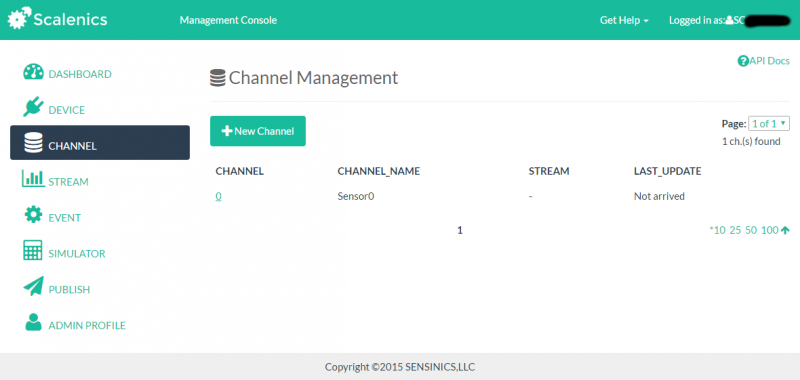
まず、デバイスのデータストリームを蓄積する時系列データベースである チャネル を作成します。
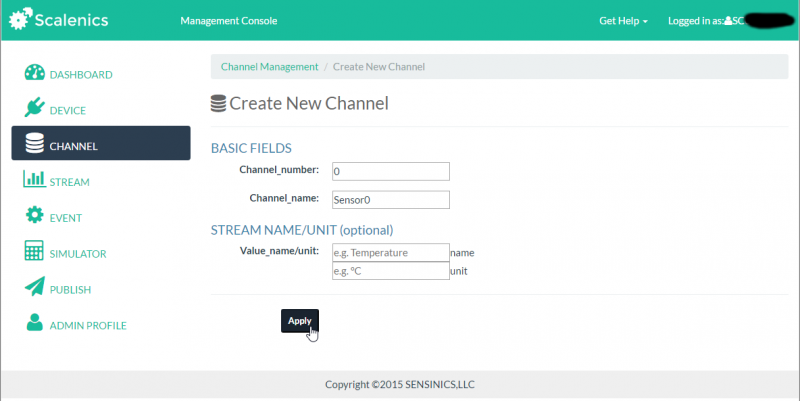
Channel\_number を 0, Channel\_name を “Sensor0” として作成してみます。
作成されました。
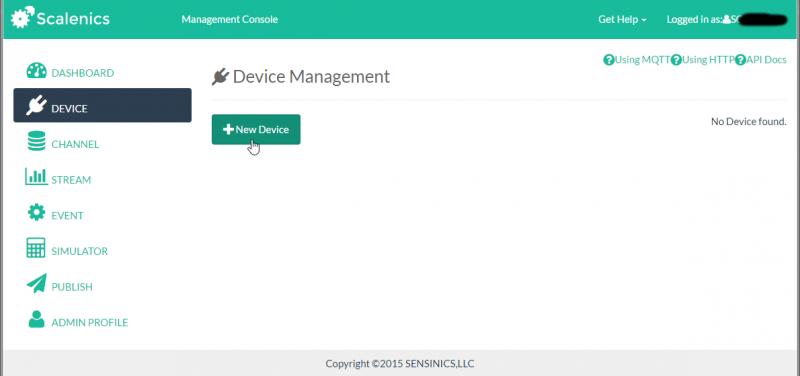
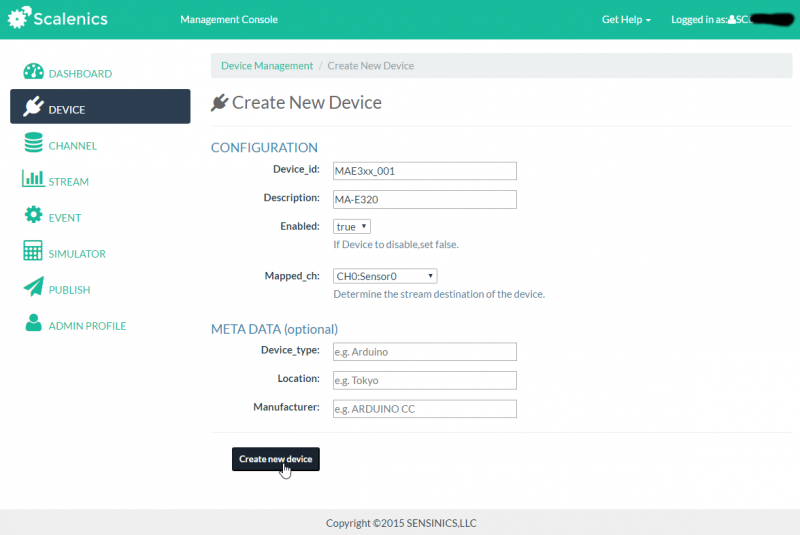
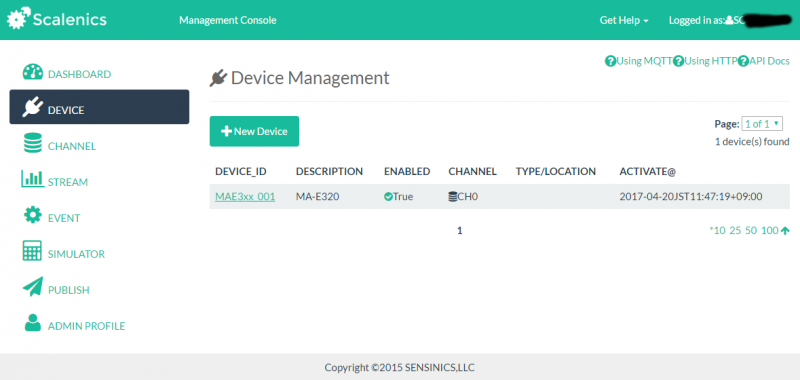
デバイスの作成
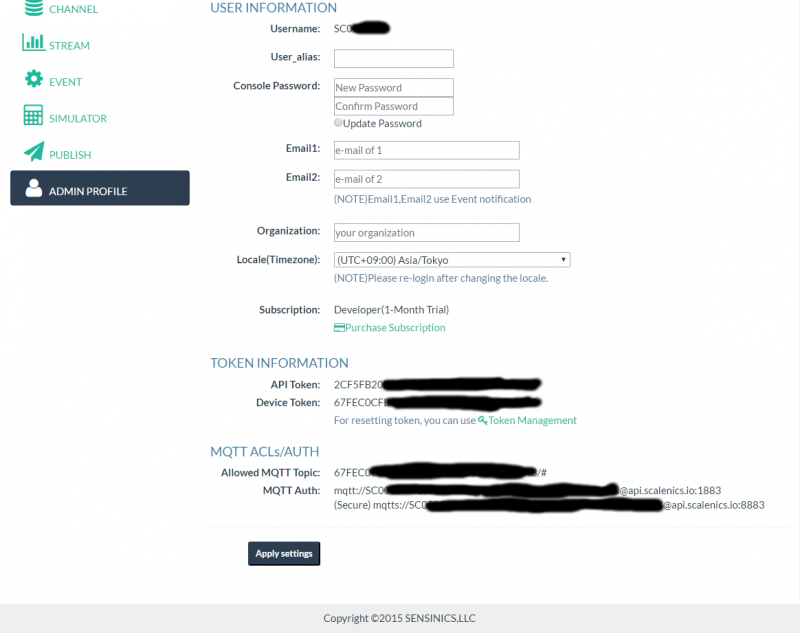
Device Token の取得
MA-E3xx の設定
ルート証明書の取得
Scalenics の MQTT ブローカのサーバ証明書はグロバールサインにてサインされていますので、こちら からダウンロードし、適当な場所に置いておきます。
/etc/ssl/globalsign_rootcacert.cer という名前で置いてみました。
FluentD の設定
FluentD でデータを送信するための設定をします。
今回は、“sensors.\*\*” というタグのデータをそのまま Scalenics に送信する設定にしてみます。
- fluent.conf
<source>
  type forward
</source>

<match sensors.**>
  type mqtt
  host api.scalenics.io
  port 8883
  topic_rewrite_pattern "(.+)"
  topic_rewrite_replacement "67FExxxxxxxxxxxxxxxxxxxxxxxxxxxx/json/MAE3xx_001"
  ssl true
  username SC00xxxx
  password 67FExxxxxxxxxxxxxxxxxxxxxxxxxxxx
  ca_file /etc/ssl/globalsign_rootcacert.cer
</match>
“password” は Device Token を設定します。
topic は “<DEVICE\_TOKEN>/json/<DEVICE\_ID>” という形式にする必要がありますので、topic\_rewrite の機能によりタグ全体を書き換える設定にしています。
動作確認
FluentD を起動し、FluentD にデータを送って Scalenics へ送信されるか確認してみます。
user1@plum:~$ echo '{"temperature" : 26.1}' | fluent-cat sensors.temperature
user1@plum:~$ echo '{"temperature" : 26.0}' | fluent-cat sensors.temperature
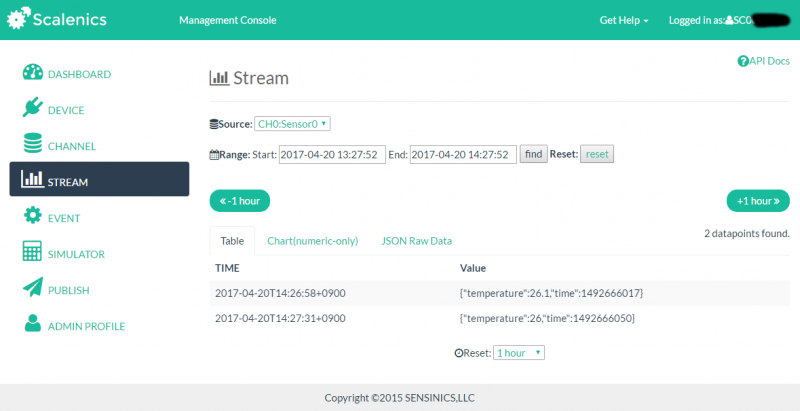
STREAM の画面を見てみます。
さきほどのデータが送信されていることが確認できました。
1)
v2.7.0α4 以降

